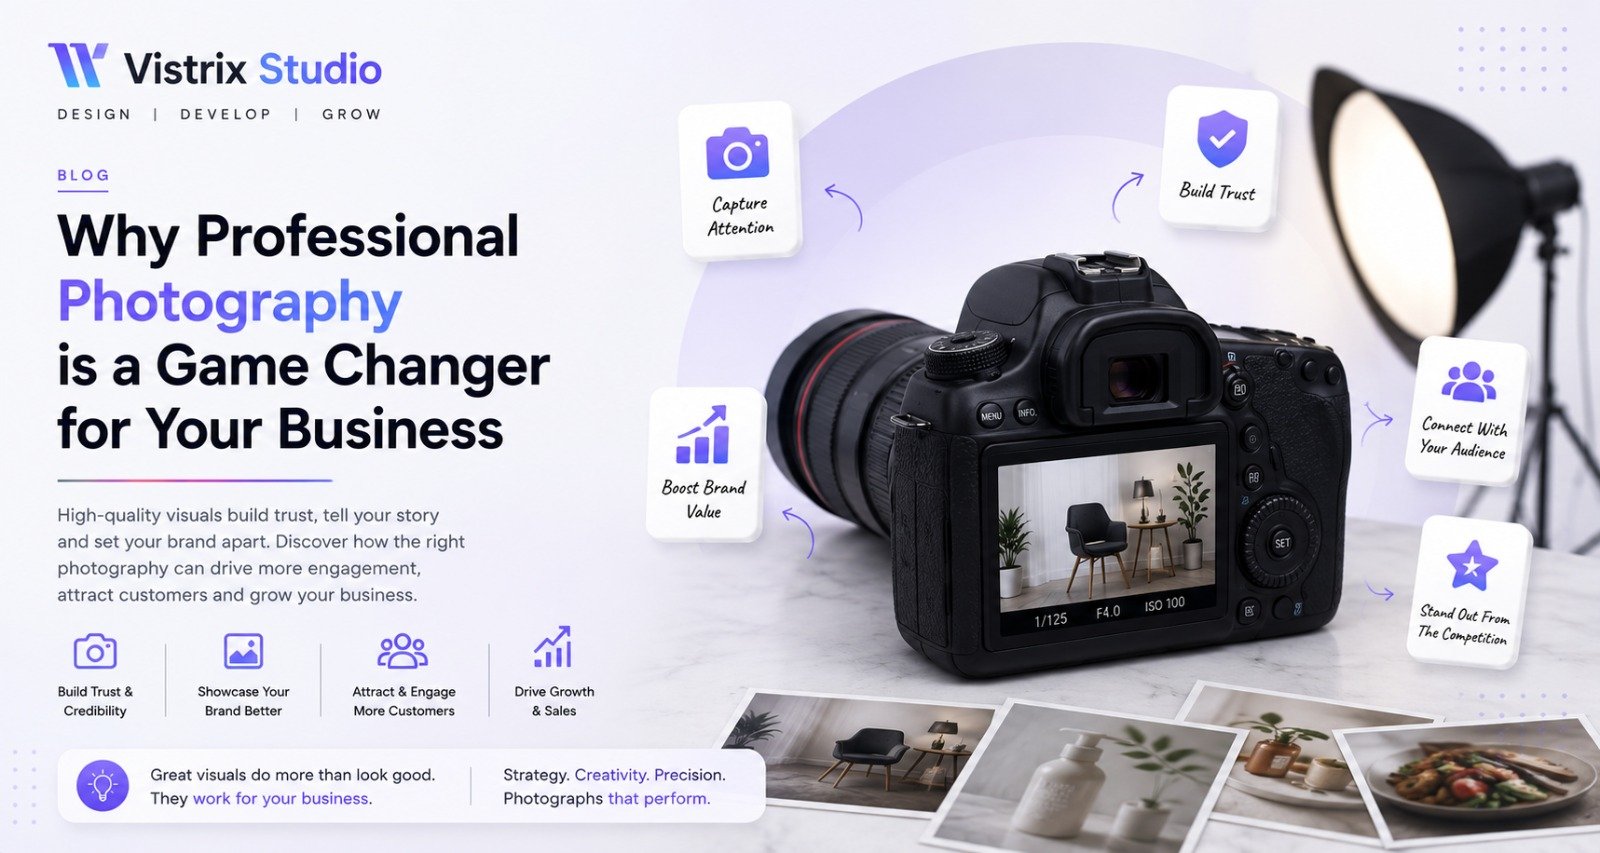
One of the most common mistakes small business owners in India make is delaying their product photography because they don't have a "proper camera." The truth is, the smartphone in your pocket right now is capable of taking photos that can sell products online, build a social media following, and compete with brands spending lakhs on professional shoots.
The difference between good product photos and bad ones is almost never about the camera. It's about lighting, setup, and a handful of simple techniques that anyone can learn in an afternoon.
Lighting Is Everything
If there's only one thing you take away from this guide, make it this: natural light is your best friend, and direct sunlight is your enemy.
The Window Setup
Set up your shooting area next to a large window that gets indirect natural light, not direct sunlight, which creates harsh shadows. The ideal time is 9 AM to 11 AM or 3 PM to 5 PM when the light is bright but not direct. Overcast days are actually perfect for product photography because clouds act as a giant natural diffuser.
Reflectors for Free
Professional photographers use reflectors to bounce light back onto the dark side of their subject. You can do the same with a piece of white cardboard or a sheet of white foam board from any stationery shop. Place it on the opposite side of your window to fill in shadows and create an even, professional look.
Avoid Artificial Lights
Unless you have professional studio lights, avoid shooting under room lights, tube lights, or yellow LED bulbs. They cast unflattering colour tones that make your products look cheap. Natural light almost always gives better results with a smartphone camera.
"A product photo taken with a three-year-old phone near a good window will outsell a photo taken with an expensive camera under bad room lighting every single time."
Simple Backgrounds That Work
A cluttered or distracting background kills an otherwise good product photo. Here are budget background options that work beautifully:
- White foam board, ₹30-50 from any stationery shop, creates a clean white background that works for any product
- Kraft paper, gives a warm, natural feel ideal for food, handmade products, and artisan goods
- Textured fabric, linen, denim, or cotton placed flat creates interesting backgrounds for jewellery, accessories, and cosmetics
- Marble or wooden surfaces, a marble rolling board or a wooden chopping board from your kitchen works perfectly for food and lifestyle products
- Coloured chart paper, available in bulk, lets you match your brand colours for a consistent look
Phone Camera Settings
Most people shoot product photos on auto mode. Here's how to take more control:
Lock Focus and Exposure
In the iPhone camera app, tap and hold on your product until the yellow square locks. On Android, most camera apps allow you to tap to focus and then drag a slider to adjust brightness. This prevents the camera from refocusing or adjusting exposure mid-shot.
Use Portrait Mode Carefully
Portrait mode creates a blurred background effect that looks professional. However, it works best when there's some distance between your product and the background. Don't use Portrait mode for flat lays or when you want the entire image in focus.
Shoot in the Highest Quality
Go into your camera settings and ensure you're shooting at the highest resolution available. Also turn off any "beauty" or AI enhancement features that might alter the appearance of your product.
Use a Tripod or Improvise One
Even slight hand movement creates blur. A cheap mobile tripod costs ₹200-500 online and makes an enormous difference. If you don't have one, prop your phone against books, lean it on a stack, or set it on a table and use the self-timer to avoid touching the phone at the moment of capture.
Want professional photography without the cost?
Vistrix Studio offers product and social media photography packages designed specifically for small businesses in India. We bring the setup to you or help you set up your own in-house photography system.
Talk to Us About Photography →Composition: How to Arrange Your Shots
Composition is how you arrange elements within the frame. A few simple rules make a big difference:
The Rule of Thirds
Turn on the grid lines in your camera app (usually in settings). This gives you a 3x3 grid over the frame. Place your product at one of the four intersection points rather than dead center. This creates a more visually interesting photo that draws the eye in.
Flat Lay vs. Standing Shot
Flat lays (shooting straight down at a product laid on a surface) work beautifully for clothing, accessories, food, stationery, and cosmetics. Standing or angled shots work better for bottles, packaging, shoes, and 3D objects. Try both and see which shows your product at its best.
Negative Space
Don't fill every inch of the frame. Leave empty space around your product, this is called negative space and it makes the product feel more premium and gives the eye room to rest. Brands like Apple use this technique extensively.
Editing: The Free Tools That Work
A small amount of editing makes every photo better. You don't need Photoshop, these free tools do the job:
- Snapseed (free, iOS & Android), tap Tools, select Tune Image, and make small adjustments: increase Brightness slightly, reduce Highlights if the background is blown out, and add a touch of Sharpness. That's usually all you need.
- Lightroom Mobile (free tier), more advanced, with one-tap Auto adjustment and the ability to save your editing settings as a preset to apply to all your product photos consistently.
- Remove.bg (free, website), if you want a transparent or plain white background on any product photo, upload it here and the background is removed automatically in seconds.
"A consistent editing style across all your product photos creates a professional brand aesthetic even if each photo was taken on different days with different lighting."
Your Product Deserves Better Photos
Good product photography directly affects sales. Research consistently shows that customers trust businesses with professional-looking product photos more, even when the product itself is identical. For small businesses in India selling on Instagram, WhatsApp, websites, or marketplaces, photo quality is often the difference between a sale and a scroll-past.
Start with a window, a piece of white foam board, and the camera on your phone. Practice these techniques for a week and compare the results to what you've been posting. The difference will be significant.
If you want to go further, professional photography, a structured content system, or help building your overall digital presence, get a free Digital Health Audit from Vistrix Studio and we'll tell you exactly where photography fits into your growth plan.